So after the last blog I have a few different styles I want to try and experiment with when trying to craft an aesthetic that fits what I'm trying to achieve with this project.
Firstly I'm going to look at some pixel art styles and how I can achieve that through digital software on my iPad using ProCreate. After looking through a few purchasable brushes and some brush-making tutorials, some purposely aimed towards pixel art, I was able to come up with the following instructions after deciding I wanted to create my own brush rather than buy one so I had some hand-made elements to the process.

When creating any new brush, you simply click on the brush icon on the tab at the top of the page before pressing on the '+' symbol in the right-hand corner which will open up the brush studio.

The first thing I want to do is alter the stroke path (the properties of the marks you make such as thickness or smoothness). Reducing the spacing down to none to make the line as small as possible.
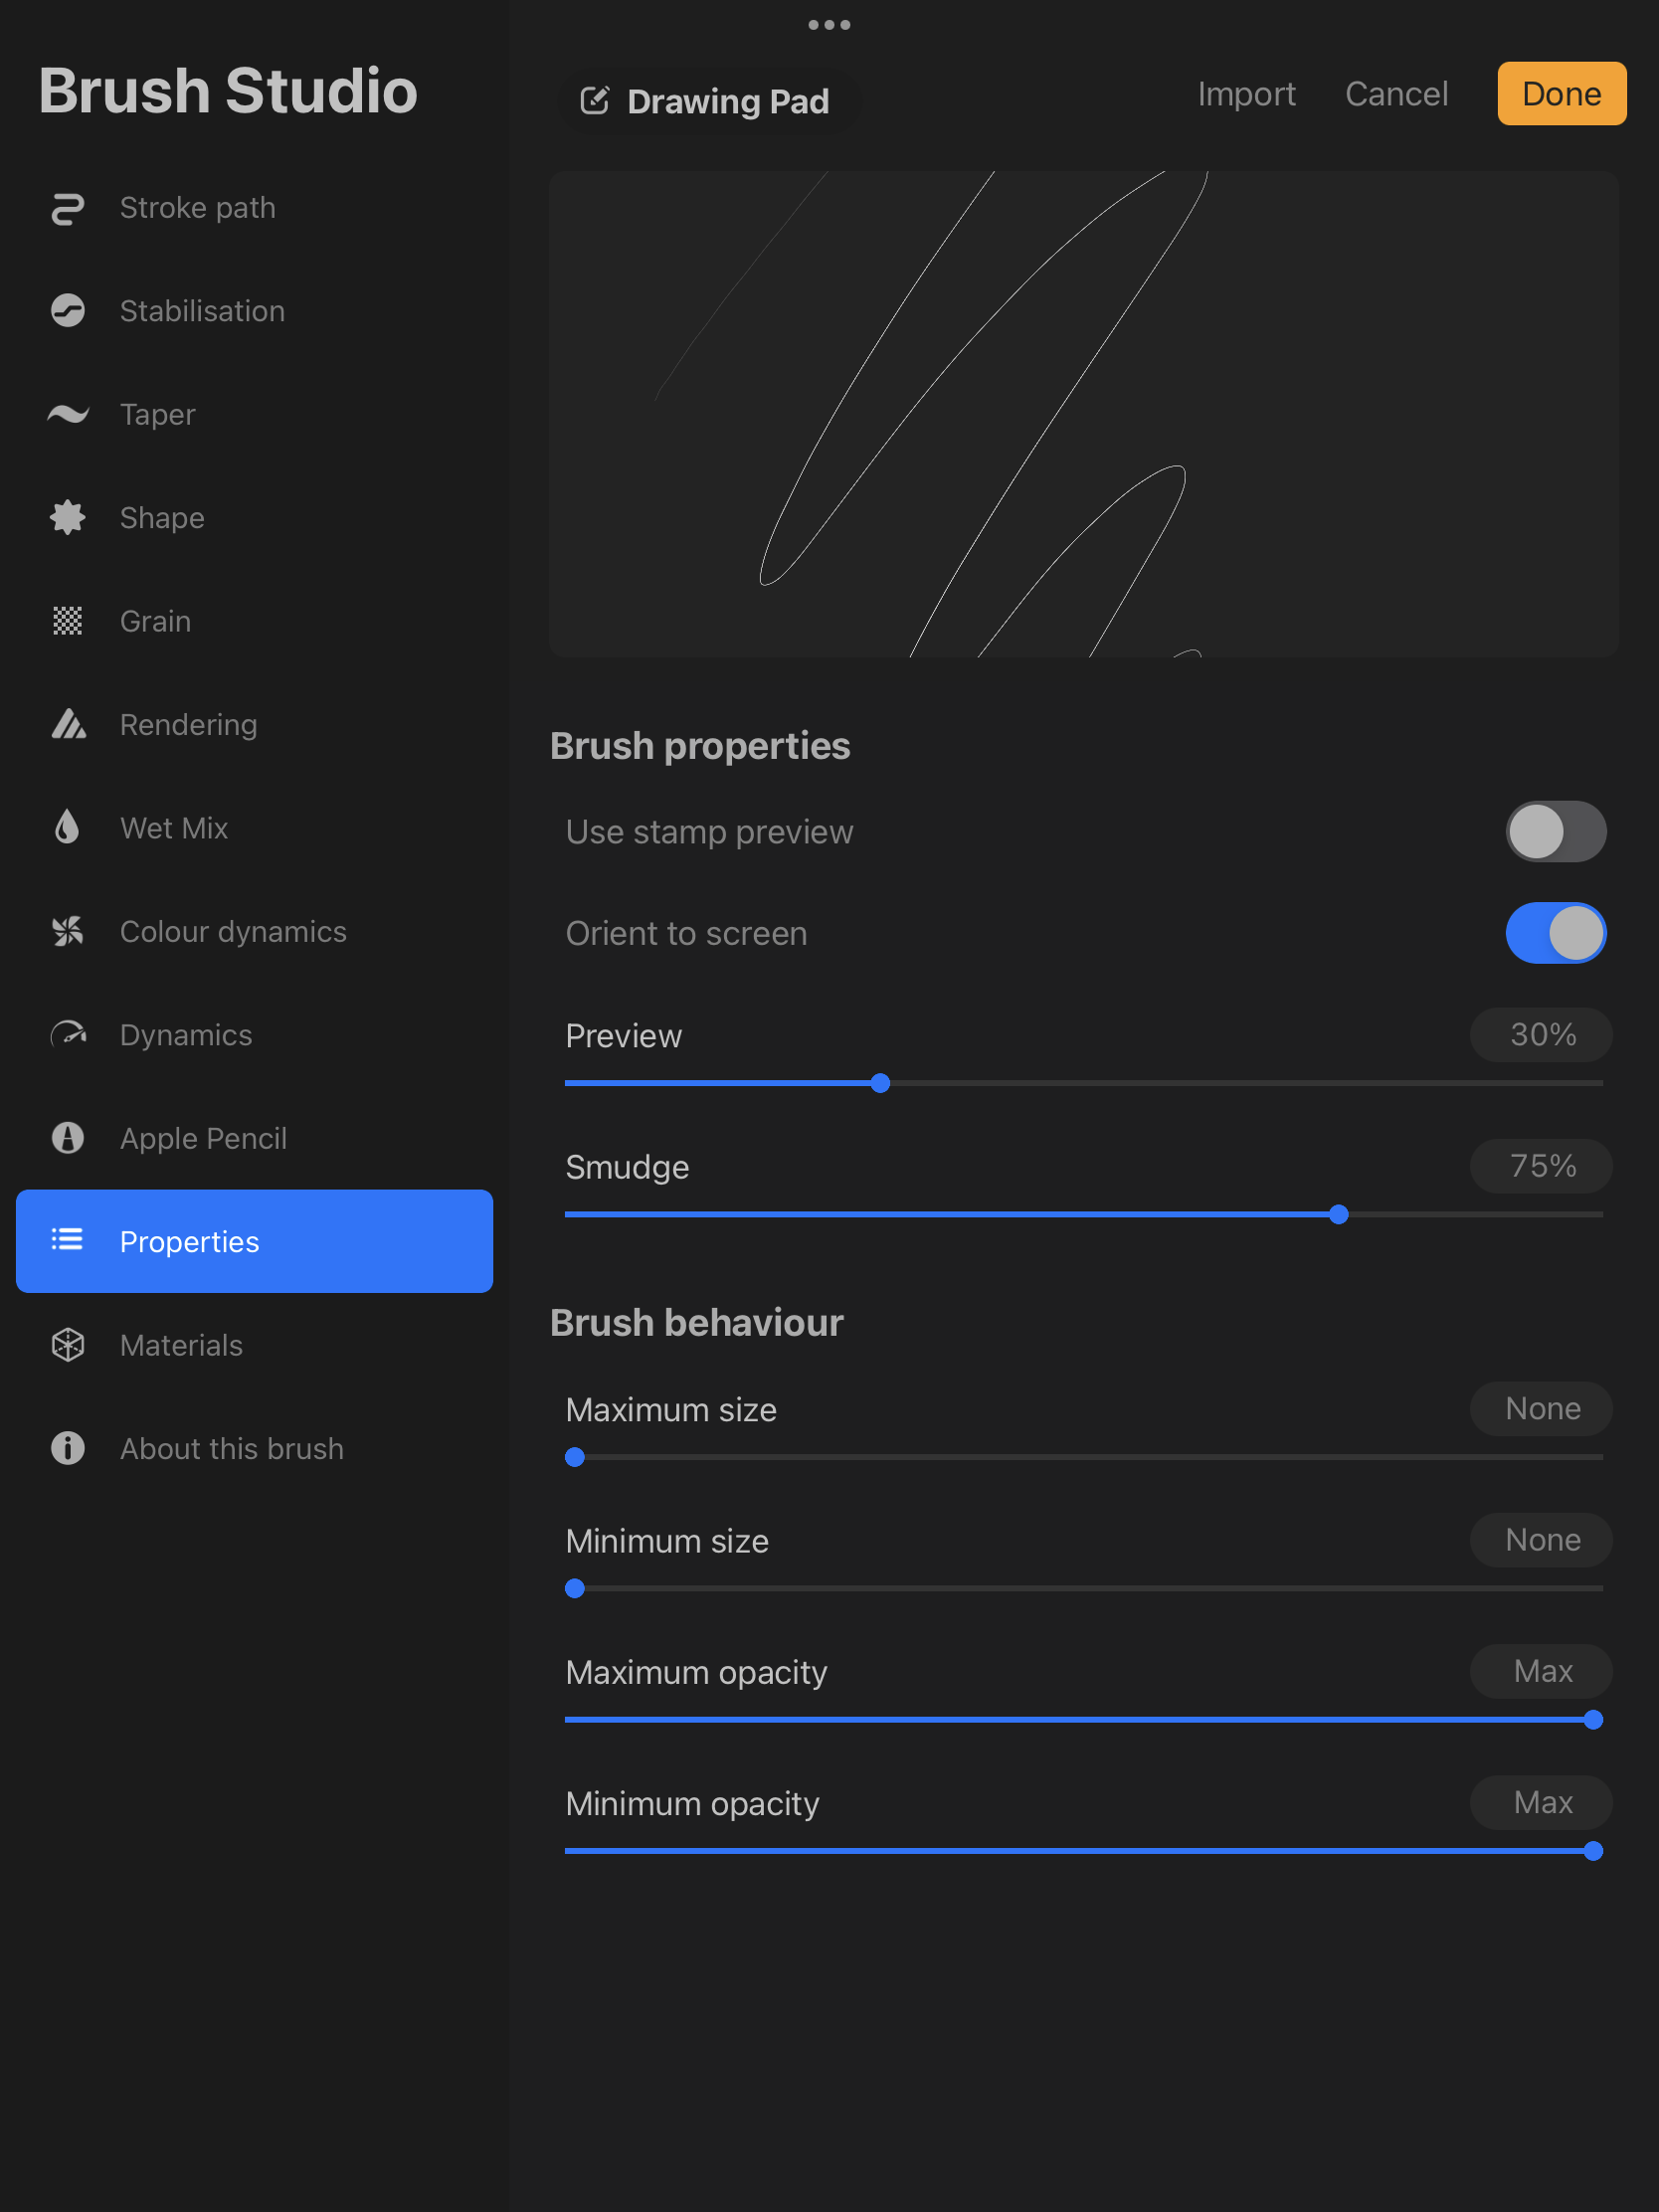
After this, going into the properties tab to alter how the stroke works as a brush, this affects things like the pressure you put on to the tablet being represented within the marks made. I want there to be a consistent mark no matter how I draw on the tablet so minimum and maximum scales need to be identical. I reduce the sizes down to none so the smallest size mark will occur no matter how much pressure I use and set opacity to max so the strongest possible mark will always be made.

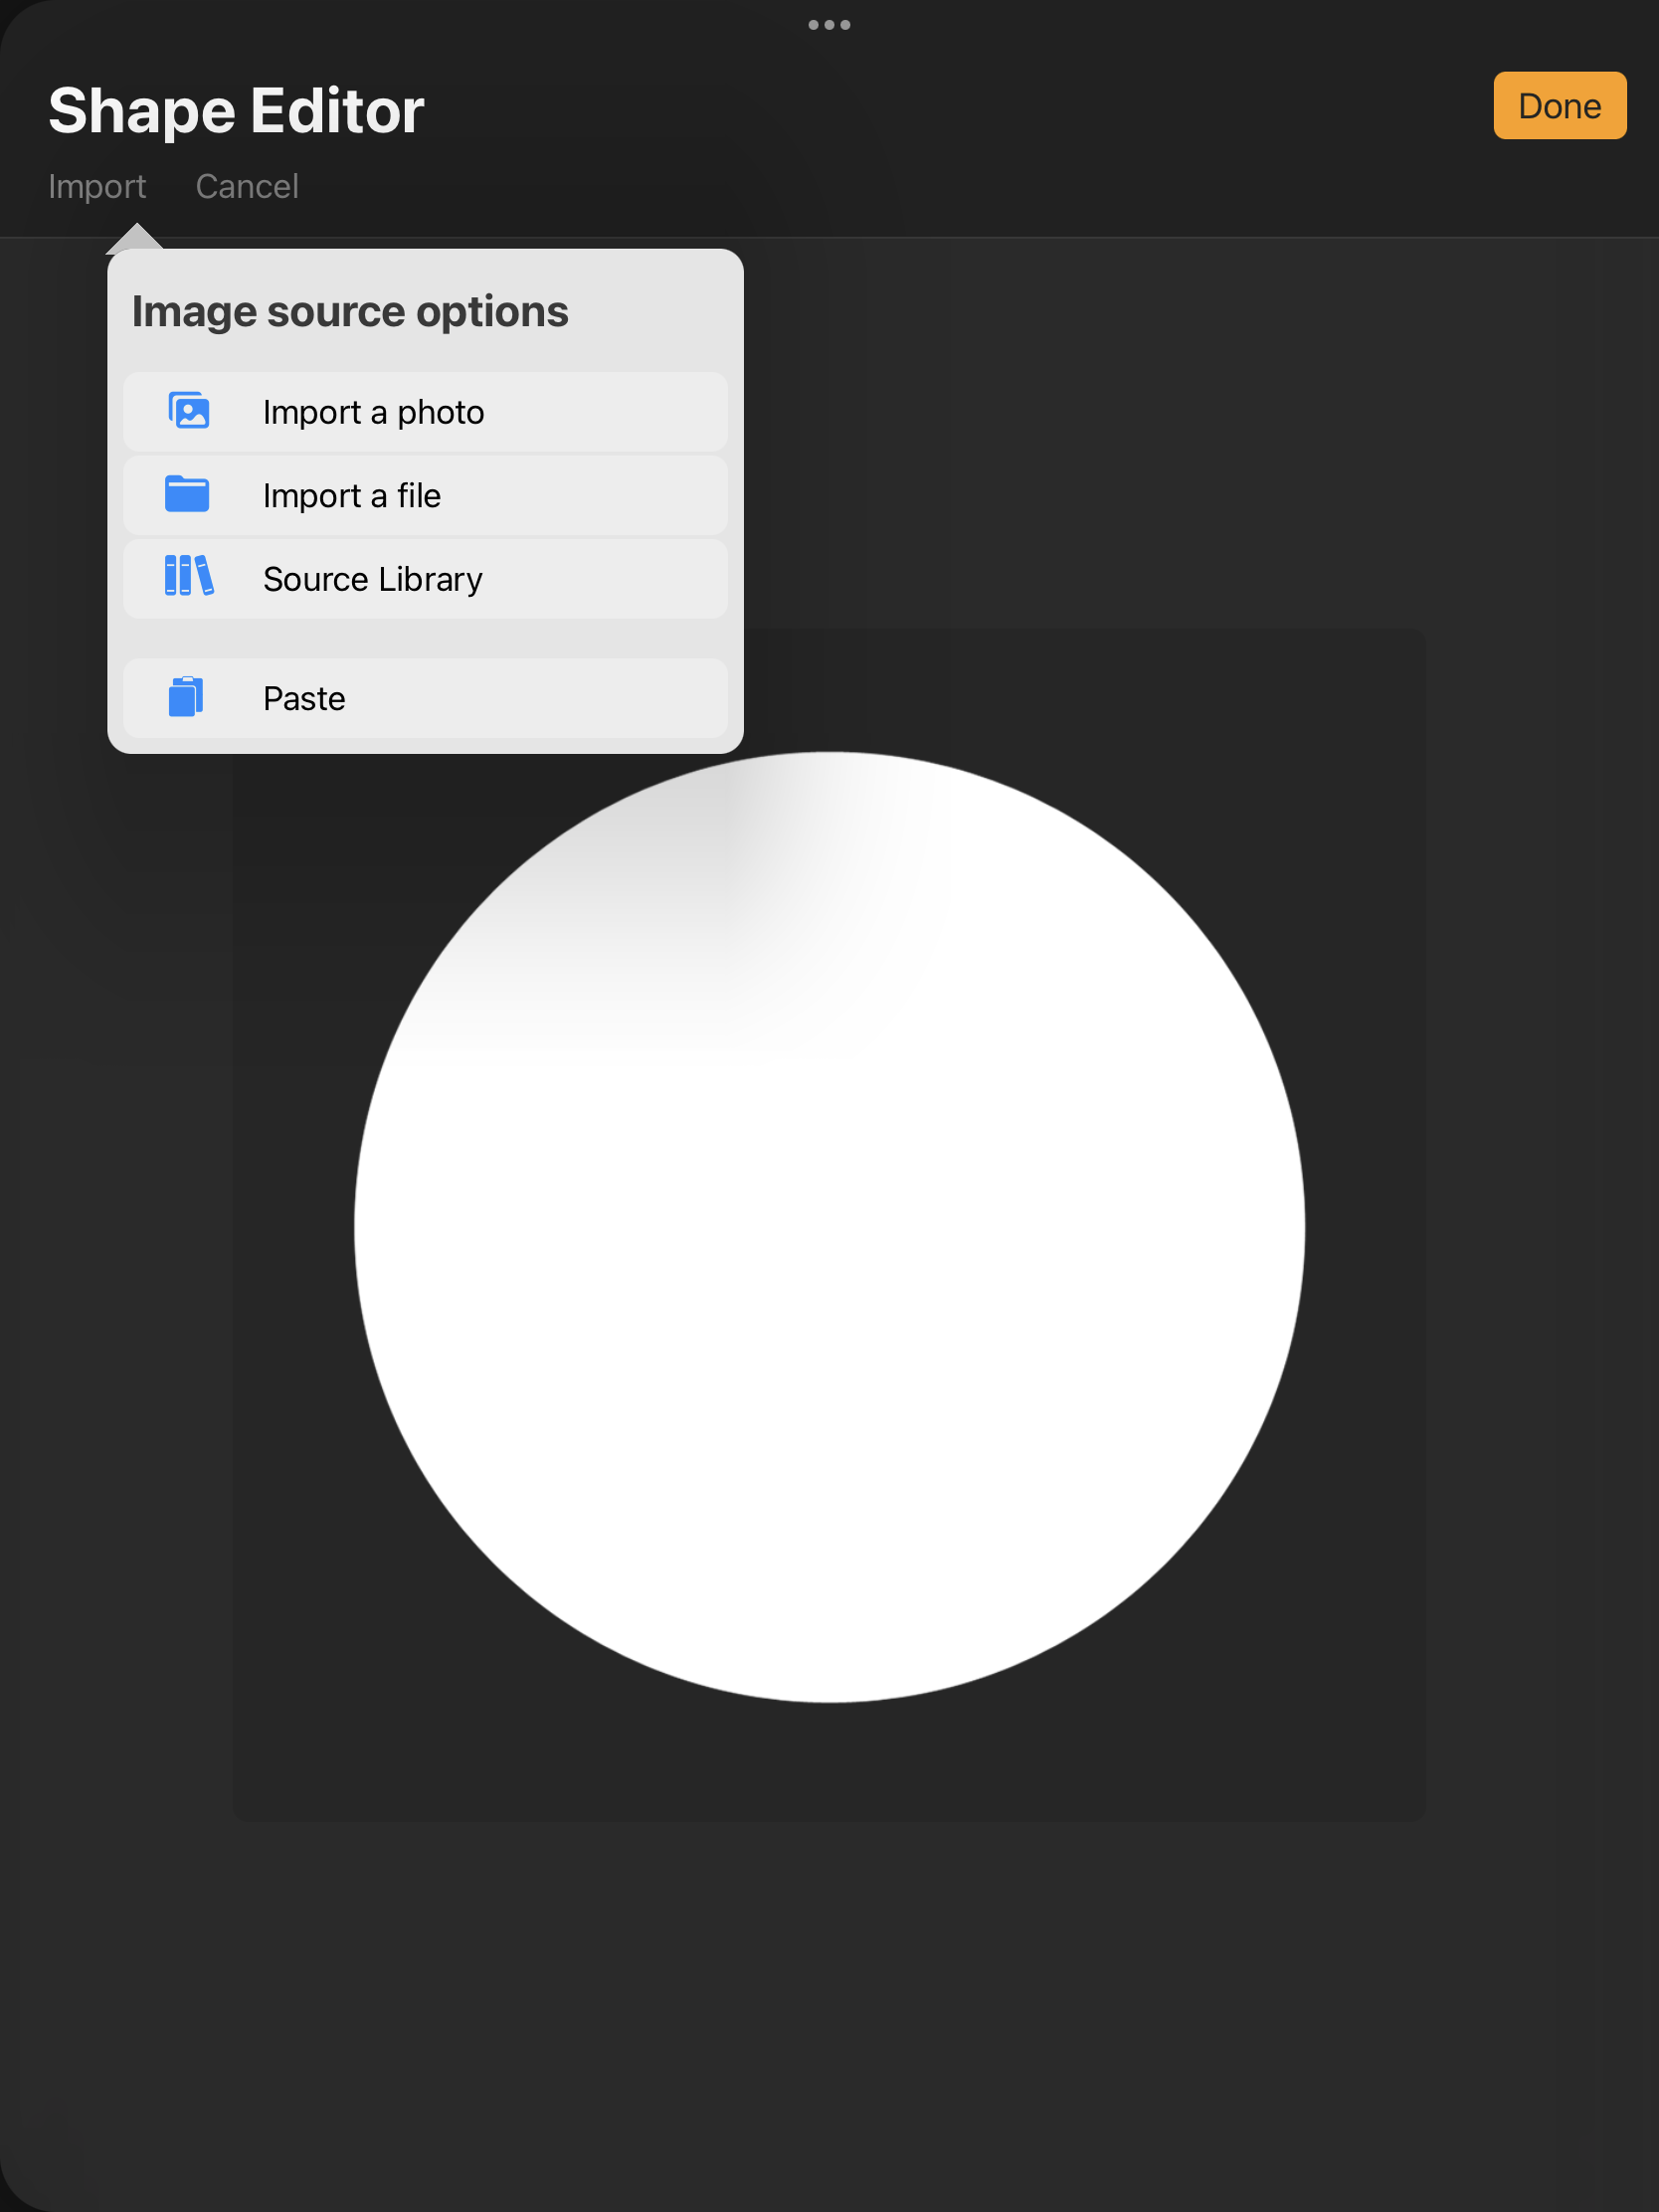
Next, I want the slightest softness to the edge of the brush design, the easiest way I found to do this was to import a preset design from the source library, clicking the shape tab on the left and then clicking on shape source allowing me to enter the shape editor screen, other versions have an edit brush tab at the top of the shape screen. This softer edge helps with a pixel technique called anti-aliasing for smoother transitions between lines when curved.


After that step I want to change the grain of the brush to get that iconic square shape for the pixel brush, choosing a texturized grain before maxing out the scale, depth, and contrast scales and reducing brightness to -75% to achieve this result.

A final step with the brush is to combat the integration of the Apple pencil, the iPad has a system where it can be chosen to only recognise when the Apple pencil is touching the screen to avoid mistakes from your hand touching the screen when working on a piece. For this reason, there are some properties to adjust in the tab to maintain our settings for the pencil so all I do here is reduce opacity to none.


Now I have a pixel brush in my library and named it as such the final thing to look at is adapting the canvas to help with any artwork. We can use gridlines for this including an isometric one if we wanted 45 degree lines. If I opt for a 2D platformer style format I will stick to the 2D gridlines.


Reducing the grid size down to zero sets the grid to individual pixels regardless of the size of the canvas making it much easier when altering linework.

And here we have the finished result of the brush with added grid lines as a drawing guide. The first experiment will be to use the iPad to take a picture of a previous design and drag it into ProCreate and draw on a transparent layer over the top of it to see how the design works as pixel art, before experimenting further by altering the design in a variety of different pixel formats (8-bit, 16-bit, 32-bit, top-down view etc)


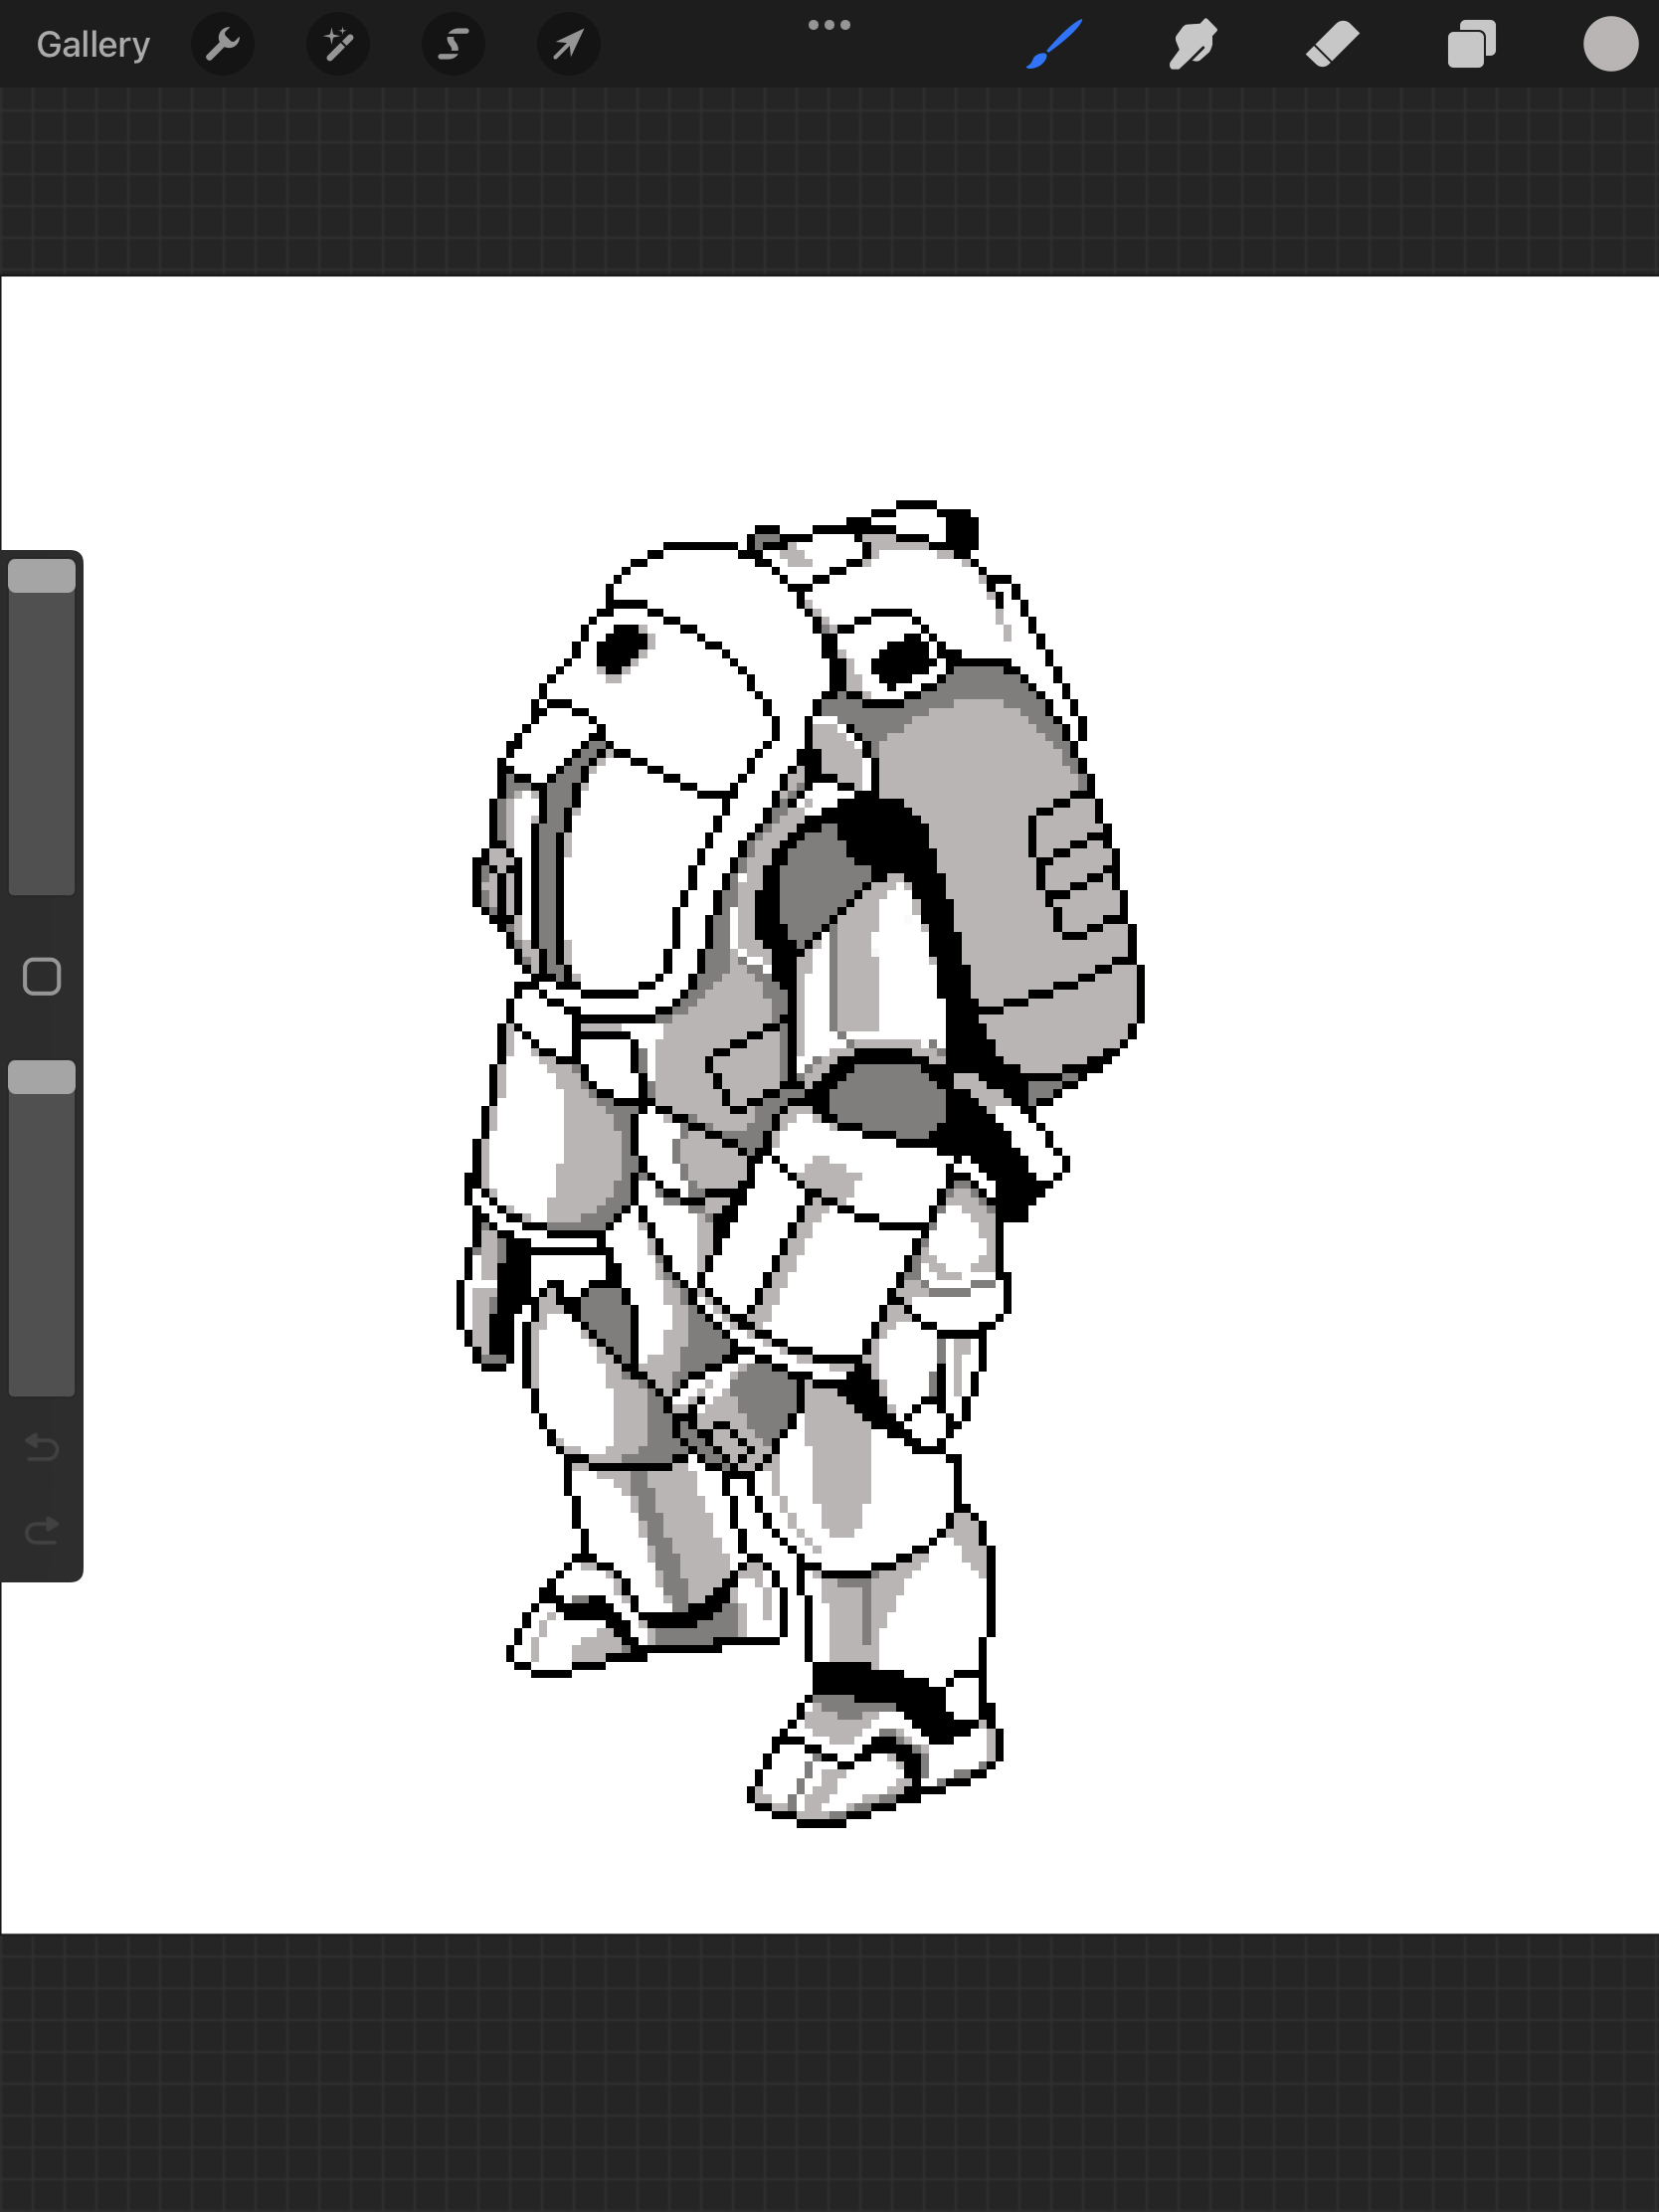
Here you can see my process at work when producing linework of my previous artwork in a pixel style, one thing I found along the way was having to reduce or in some cases entirely remove details to make the linework look ideal. This may be due to working on a much smaller canvas (200px by 200px) where working on the same size canvas and then reducing afterward may have worked but it probably would have reduced the quality of the linework with shades of grey to produce an anti-aliasing effect for the curved lines, a similar thing happened when I tried to create shapes like circles for certain parts of the armor and then alter there shape to fit the original art.
Added shade with a tri-colour palette similar to 8-bit art. There is no actual definition for the difference between 8-bit/16-bit/32-bit or 64-bit when it comes to the art style, it refers to how much data is used, SNES style is another term as that's where a reduced style like this would come from which had less data space on the hard drive to run high-quality graphics. A smaller palette displays this reduced graphics style though the linework isn't as reduced as what you might find in these older games making it appear more like 32-bit. 

Some 8-bit Mario sprites showing the reduced number of colours and details able to be used.
A higher-quality pixel art style showing off how pixel art can still display high-quality details so it shouldn't be thrown away as an experimental art style for my project. Worth noting the characters and interactable objects have black linework around them to help them stand out, something I was aware of in my previous post when looking at relevant art style options and their pros and cons.

I need to continue experimenting with this pixel style producing sprite sheets (images of characters in multiple positions that can be placed into animation) as well as environmental pieces, as well as delving into some of the other art styles I've suggested in the previous post.


No comments:
Post a Comment